shaggy08xr
Active Member
- Joined
- Sep 25, 2009
- Messages
- 2,239
- Reaction score
- 0
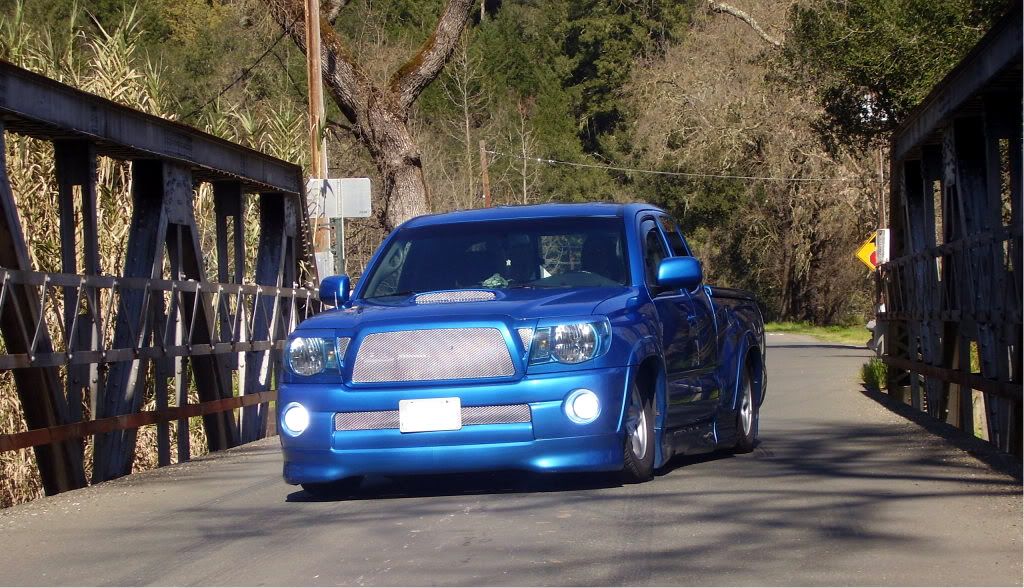
That beast looks sick bro.
Did you get my pm earlier
Did you get my pm earlier
By registering with us, you'll be able to discuss, share and private message with other members of our community.
SignUp Now!Did you get my pm earlier
real quick ? when u are done with the light do u put it bak into the oven to re seat the silicone or just let dry on its own about to start it right now off to car quest to get what i need...
oh forshure i alrady got one apart letting the paint dry .. now did u try to remove the original silicone or just left it and added more
cool thanx for the quick answers after this is on to the tail lights


Reverend_d said:has anyone tried to color match the inside of the light to the truck. I was thinking of going that route. what does everyone think about that idea.