Coupe
Active Member
- Joined
- Dec 31, 2007
- Messages
- 6,871
- Reaction score
- 15
How to make a Single Din, Triple Gauge Radio Panel
(Stolen from DeathShadow)
I bought a Sosche Single Din Radio Mount. I look for ones on eBay.
I cut a piece of ¼” Plexiglas and used epoxy to fill the map slot.
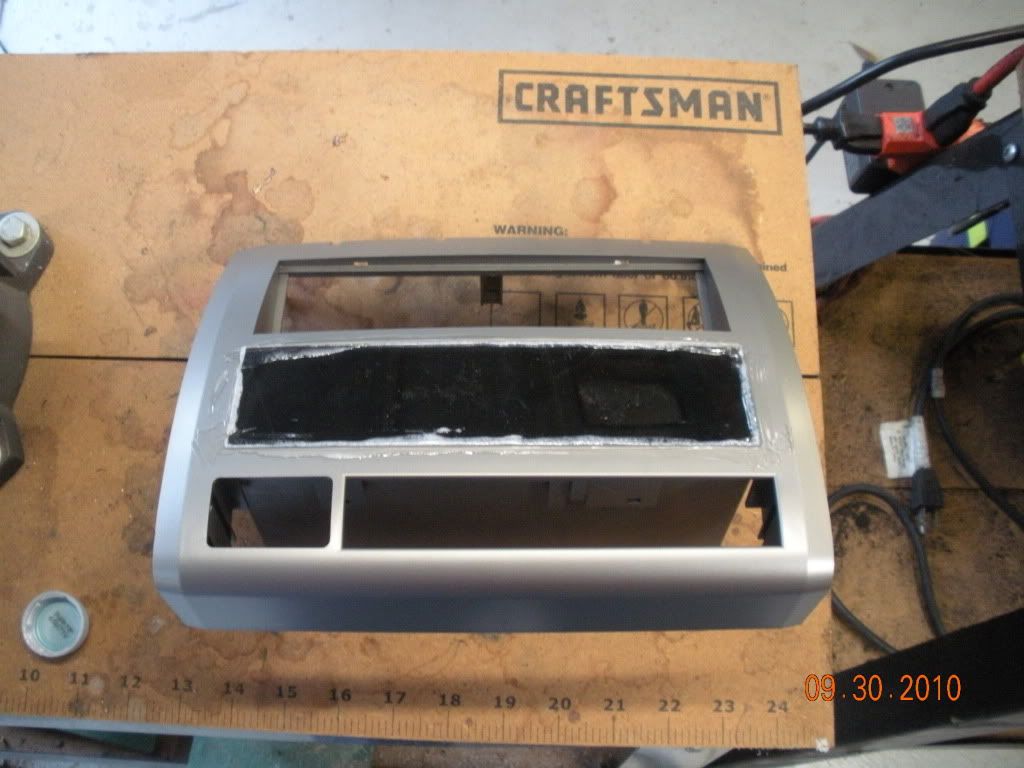
When you glue in the plexiglas, make the plexiglas a little below the surface of the bezel.
I roughed up the surface of the Plexiglas.
I purchased some angle gauge rings from Summit. These are Autometer #2234. I have also found these on eBay for about $10.
Position the gage rings in the center of the map pocket area. Do not get too far to the right. The right gauge needs a special cut out. You will see this later. Position them so they look good to you. Don’t get them too close together either.
Use epoxy and glue them to the Plexiglas. Let dry.
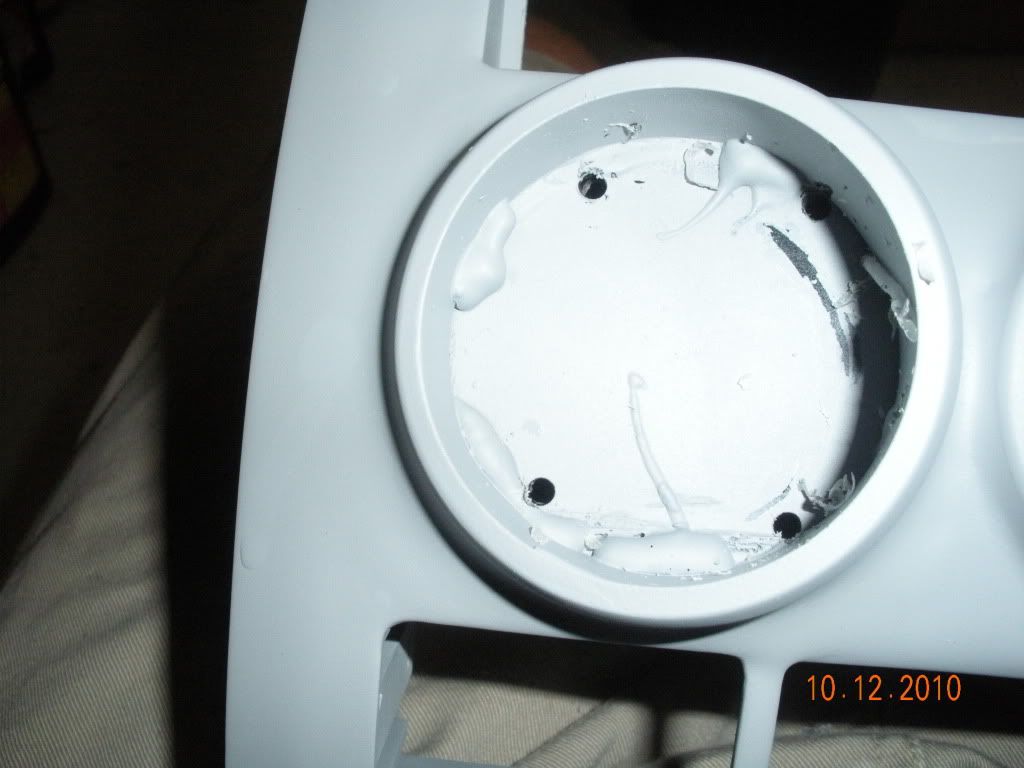
Drill some small holes in select spots in the Plexiglas. This will give the bondo a better bite to the Plexiglas.
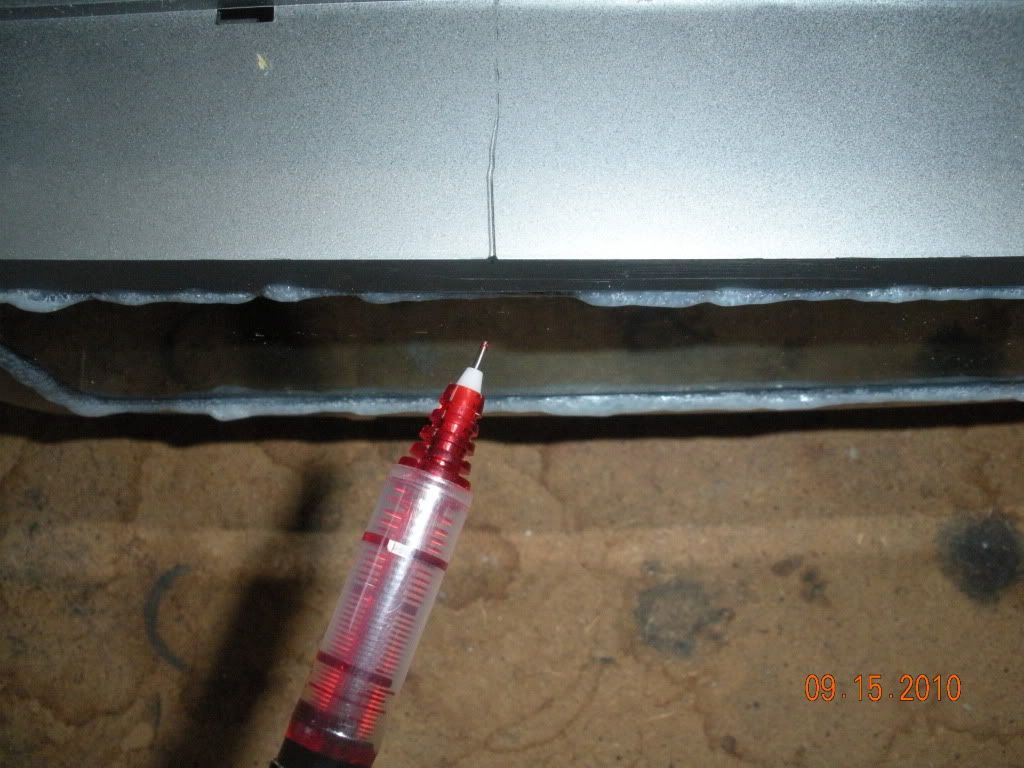
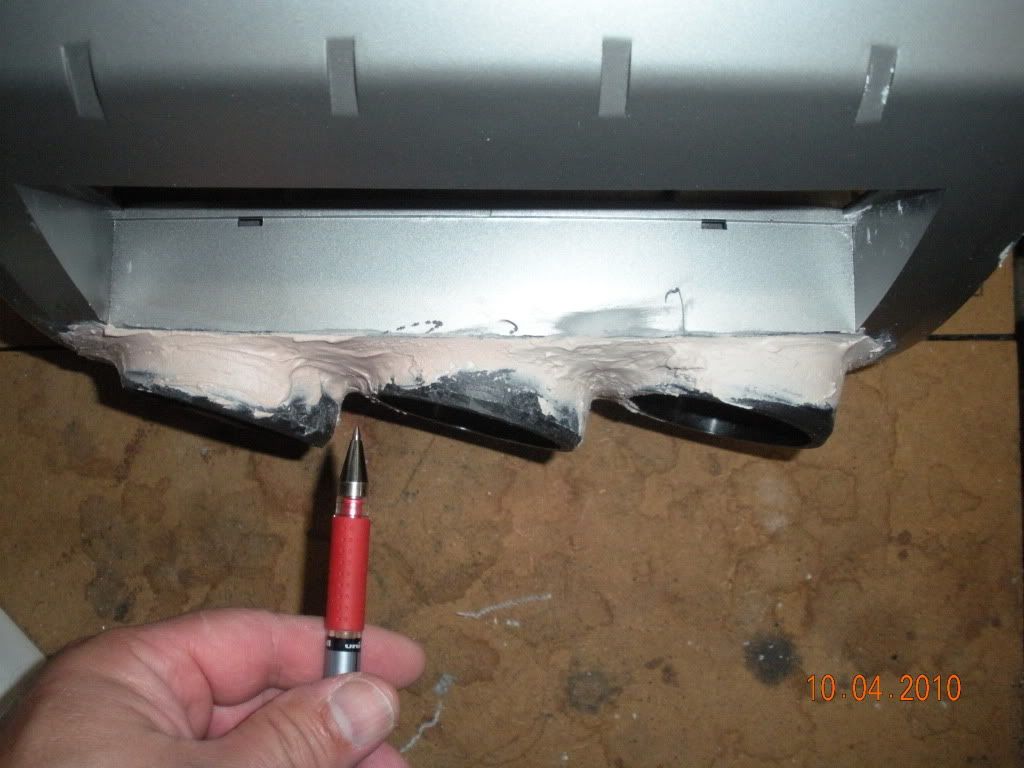
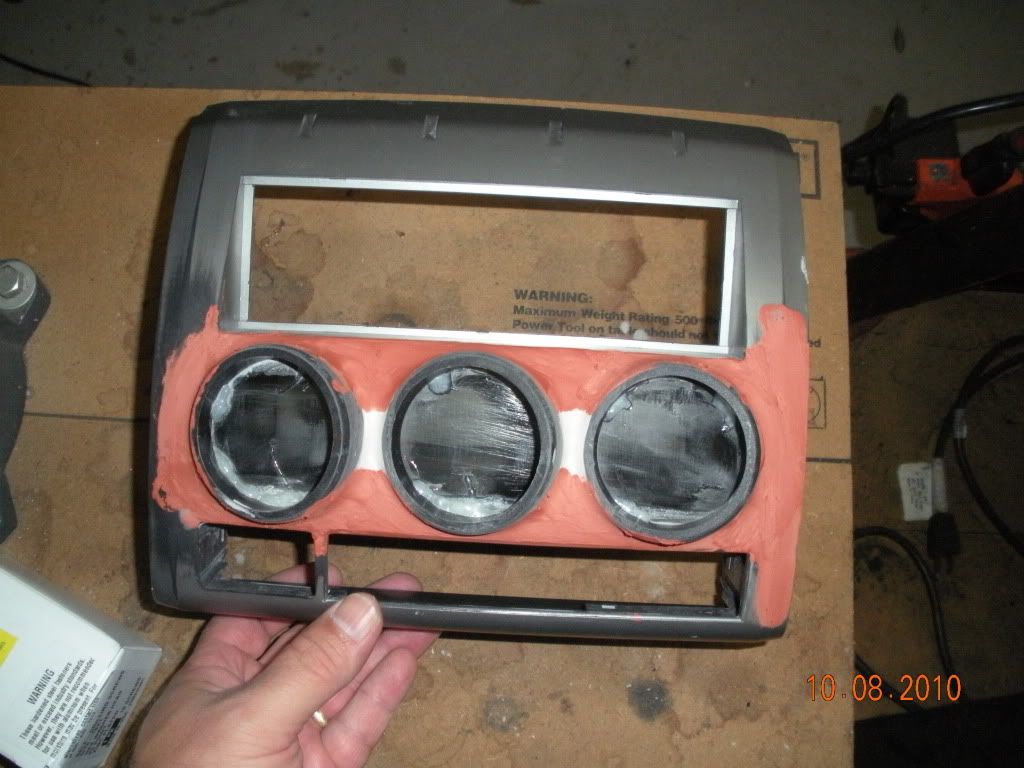
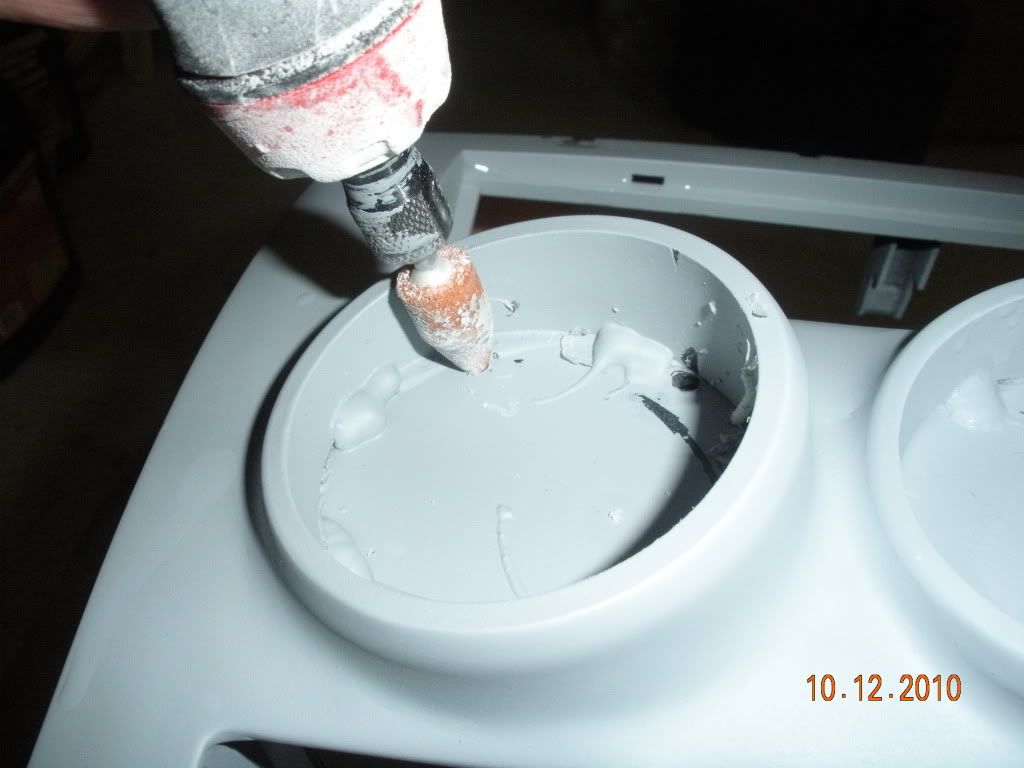
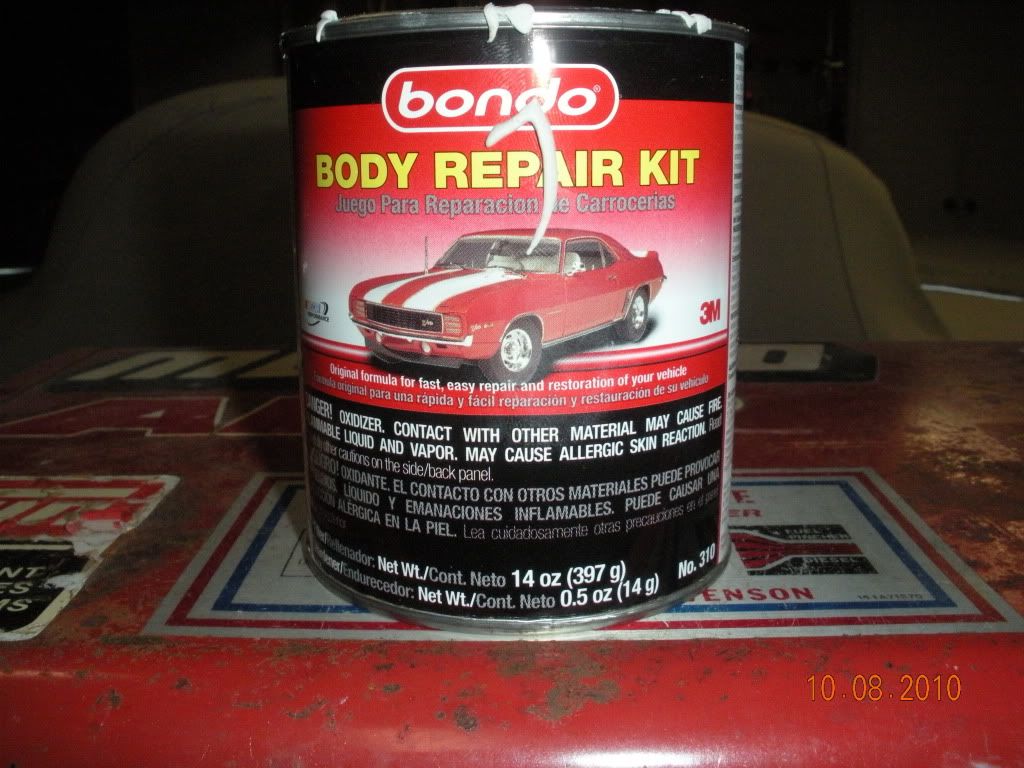 Using Bondo, mix per instructions then smear some with a q-tip or your finger around the gauge rings. Let dry. Repeat. You want the it a little thicker in the middle of the gauge rings. Look where the pen is pointing.
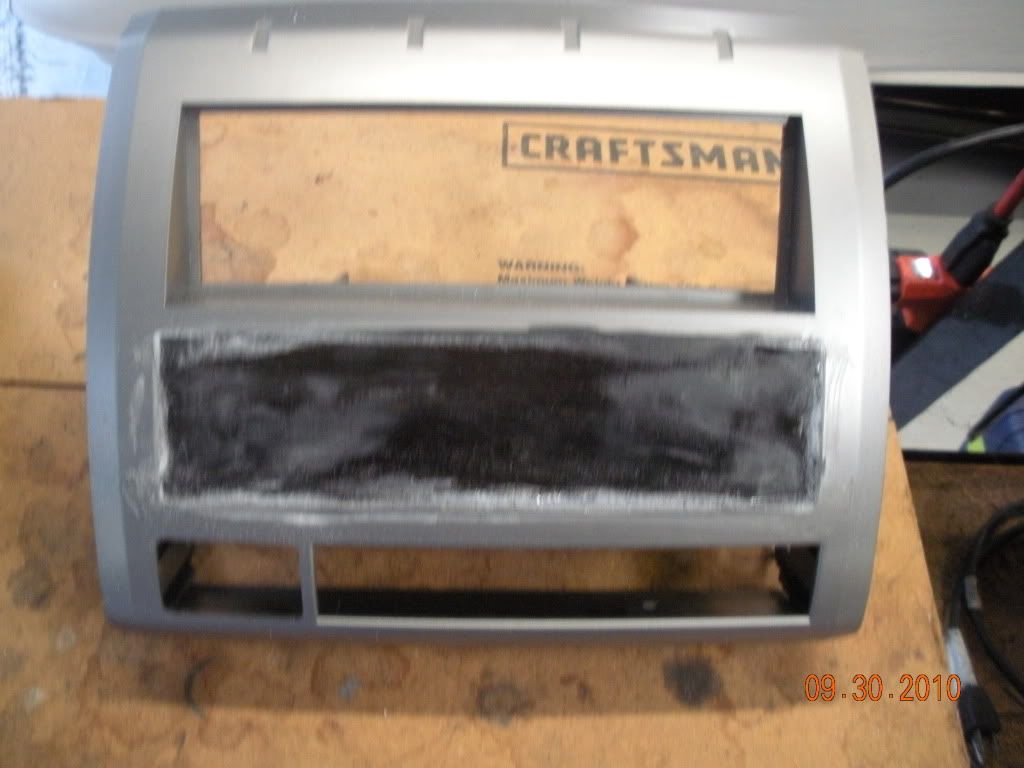
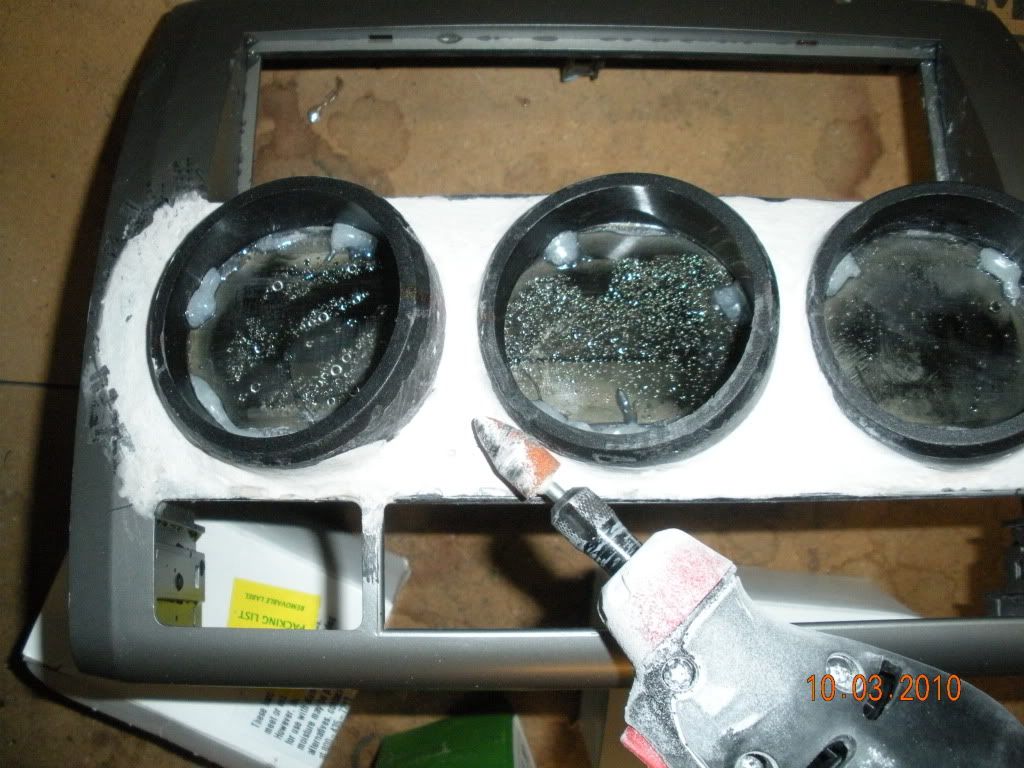
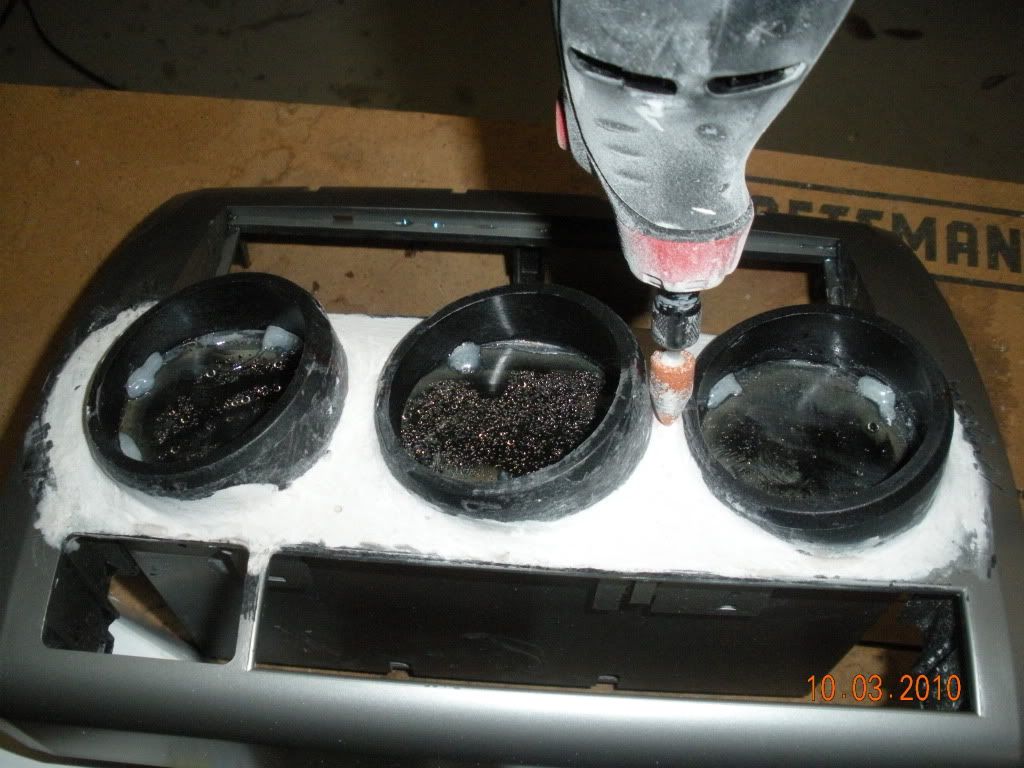
It looks a little rough about now, that is normal. We are going to use a grinding cone on a dremel to get our rough cut. This goes pretty quickly and the cone shape makes it easy to get between the gauge rings.
Before you start sanding/grinding, get yourself a mask. The Bondo kicks up a lot of dust. Save your lungs for tobacco.
You will probably need to make one more Bondo application to fill in low spots and to smooth over a few craters. By the way, I am not a body man, so you guys that do this for a living can probably do this a lot better than I am doing.
I will do a little more shaping with the cone stone, and then I will move to 220 grit sandpaper. After you wet sand on it for a while, you will probably going to find a few pits. Use a glazing putting to touch these up and you guessed it, more wet sanding.
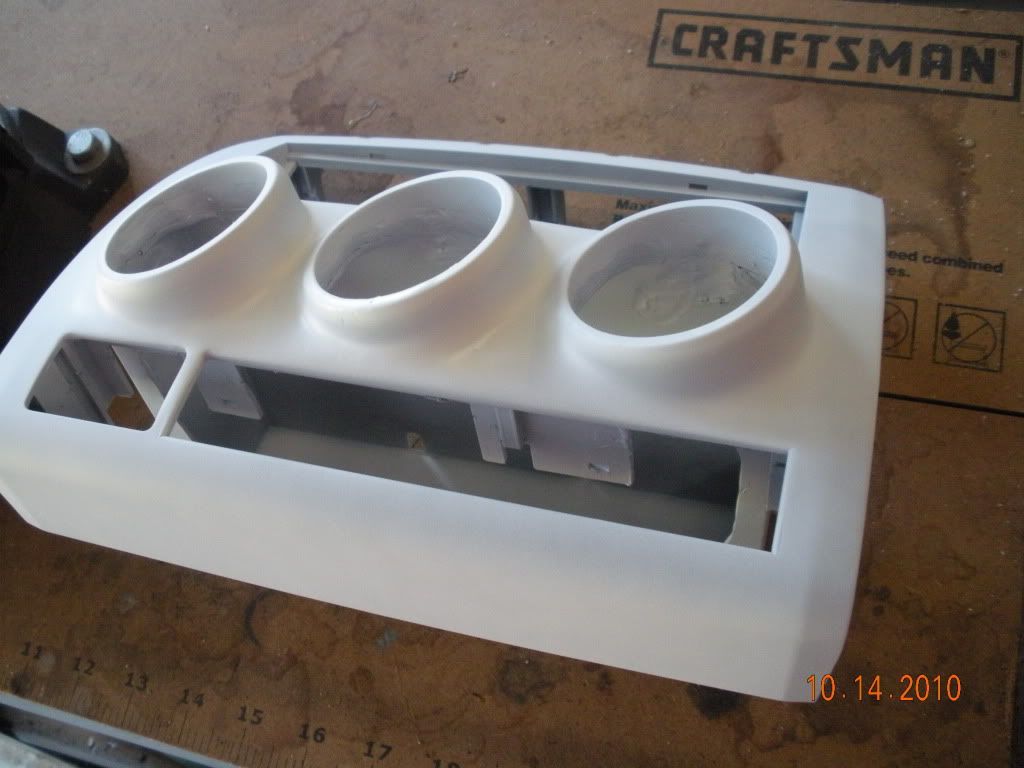
When you are close to where you think you are done, hit the radio/gauge panel with some primer. This will show off your imperfections. A little glazing putty and more wet sanding. Repeat as necessary.
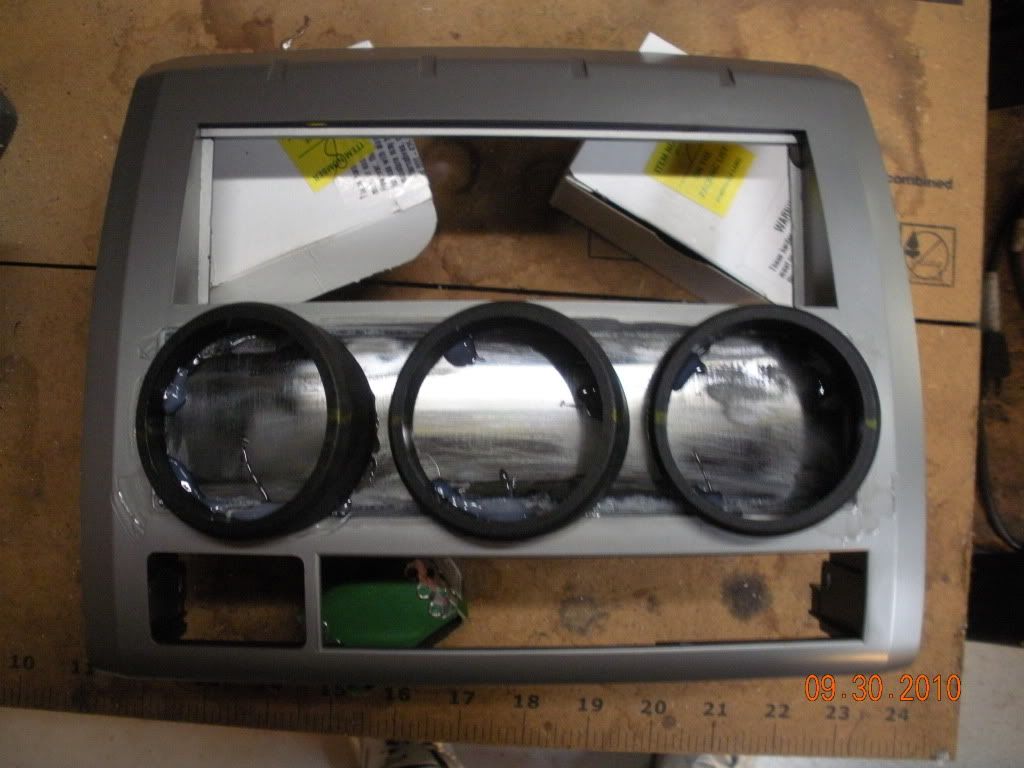
When I get the corner radius around the gauge rings shaped the way I want them, I start cutting the holes. I first cut the holes in through the gauge rings. You can use a hole saw, I just used the dremel with the same grinding cone. Do not cut the openings, until your happy with the gauge ring transitions. The plexiglas helps hold every thing together and is much stronger before the openings are cut.
 When I was close, I used a sanding cylinder and finished the hole out.
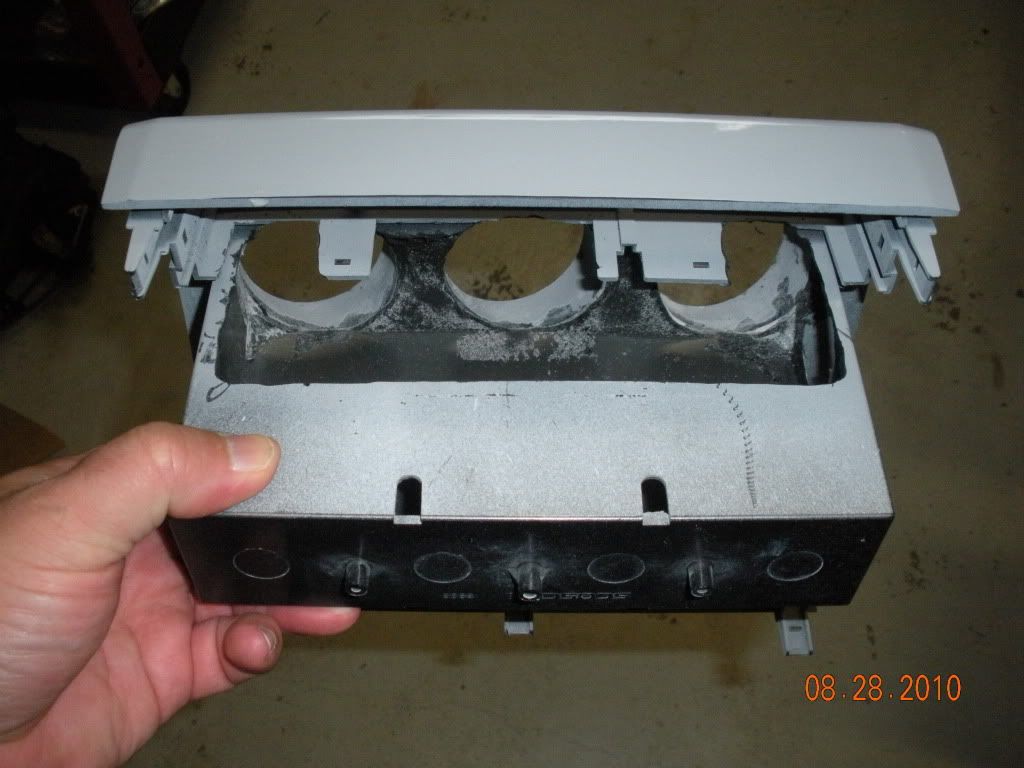
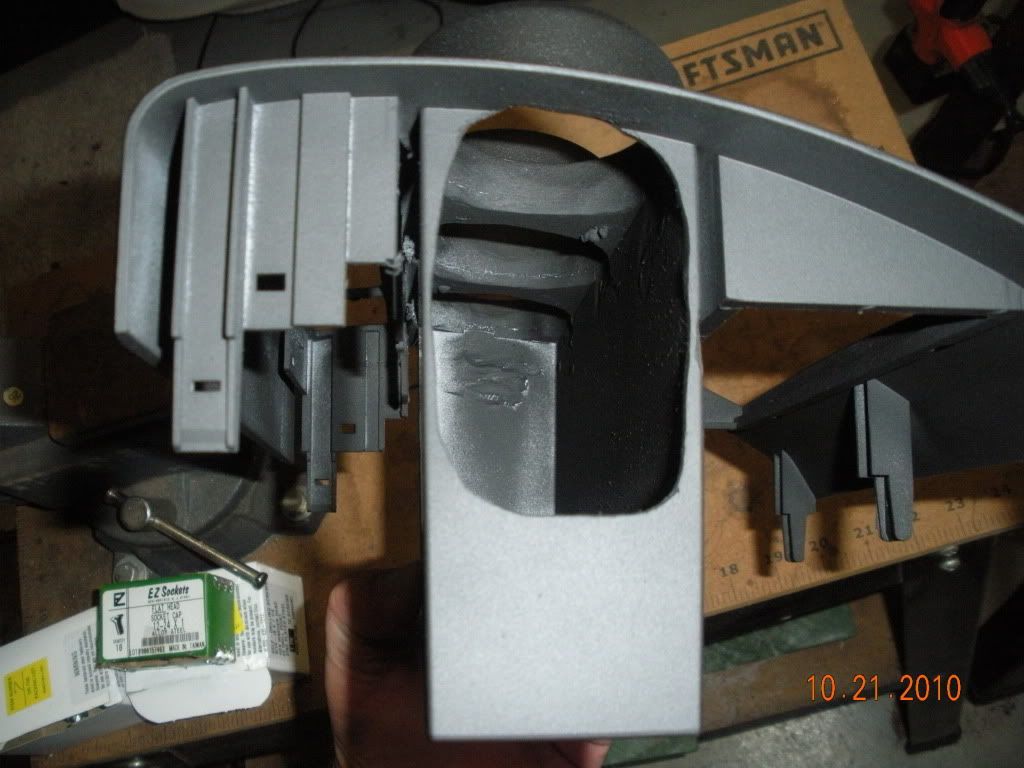
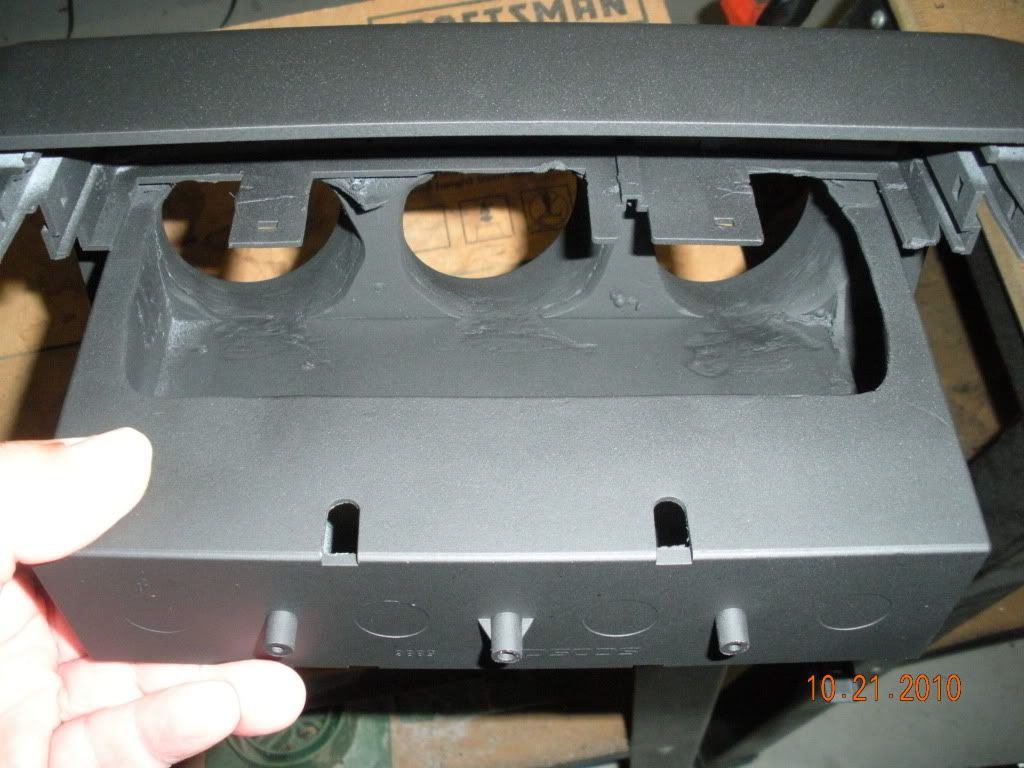
Next cut the opening under the gauges. This is where your wires need to feed through. I have a little buzz saw attachment for my dremel that I used to cut this out. Make radii in the corners. Radii in the corners help prevent cracks. The bigger the better. DO NOT CUT OFF THE TABS THAT CLICK INTO THE RADIO.
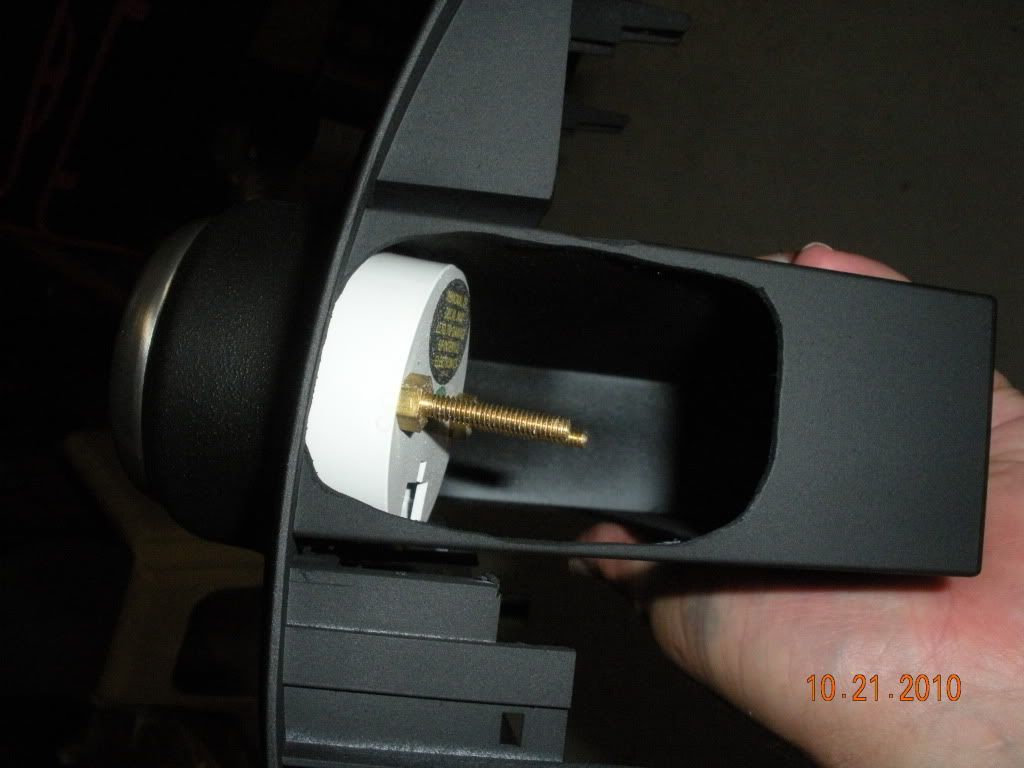
 Then cut the right side out as show. It is a good idea to test fit your gauges as you go. The right gauge especially. You will see why you need the right cut out.
Shoot another coat of primer. If it looks good, one more round with wet sanding.
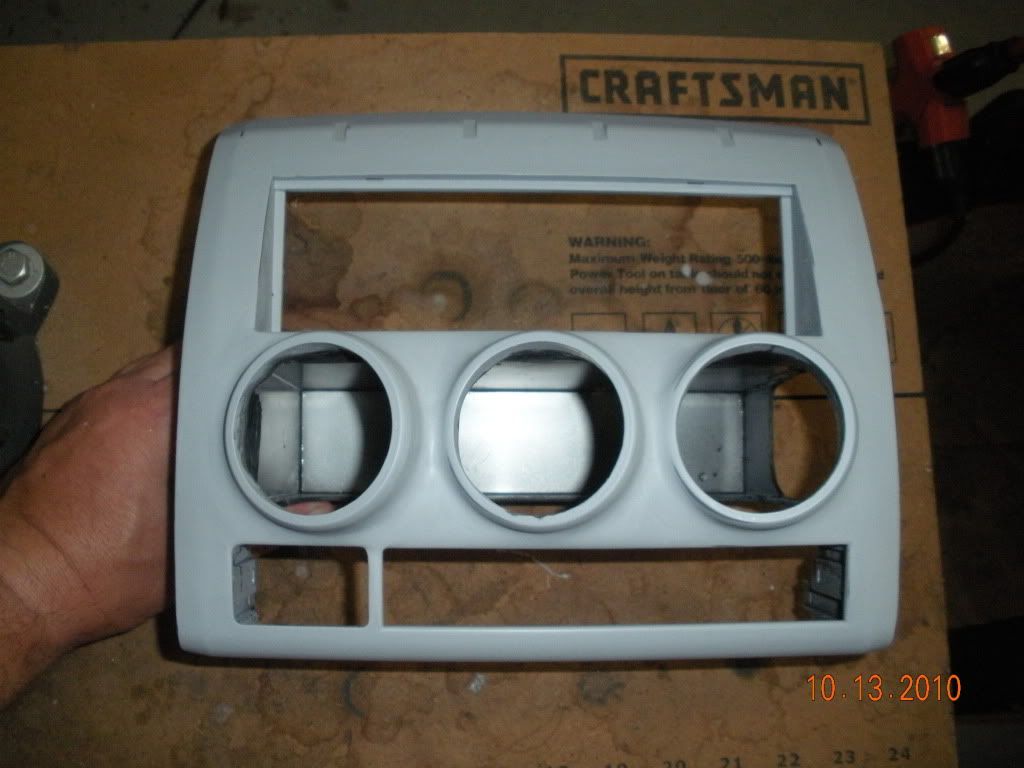
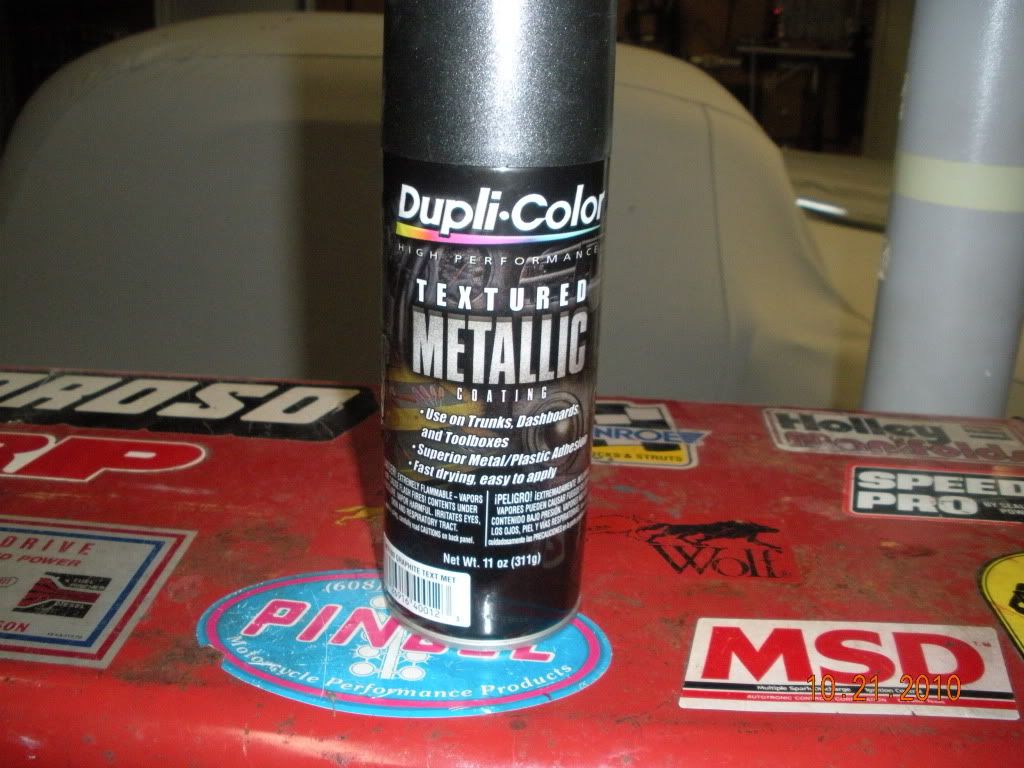
Paint is very subjective. Different people want different things. I wanted a gauge pod the blended into the dash. I painted the face lightly with a metallic textured paint from Duplicolor.
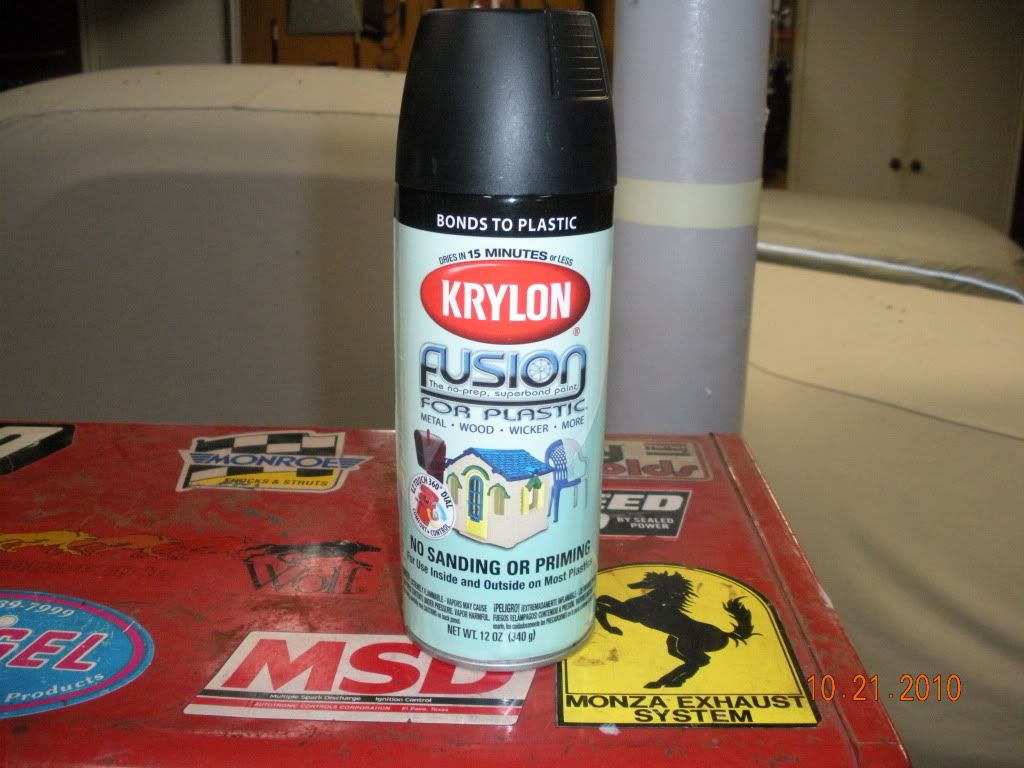
Do not worry about getting full coverage, just get enough down to get uniform texture, do not worry if the color is a little blotchy. Let this dry. I finished up with a couple of coats of Krylon Fusion Paint in a FLAT black. I had to order this. It matches the stock dash very well.
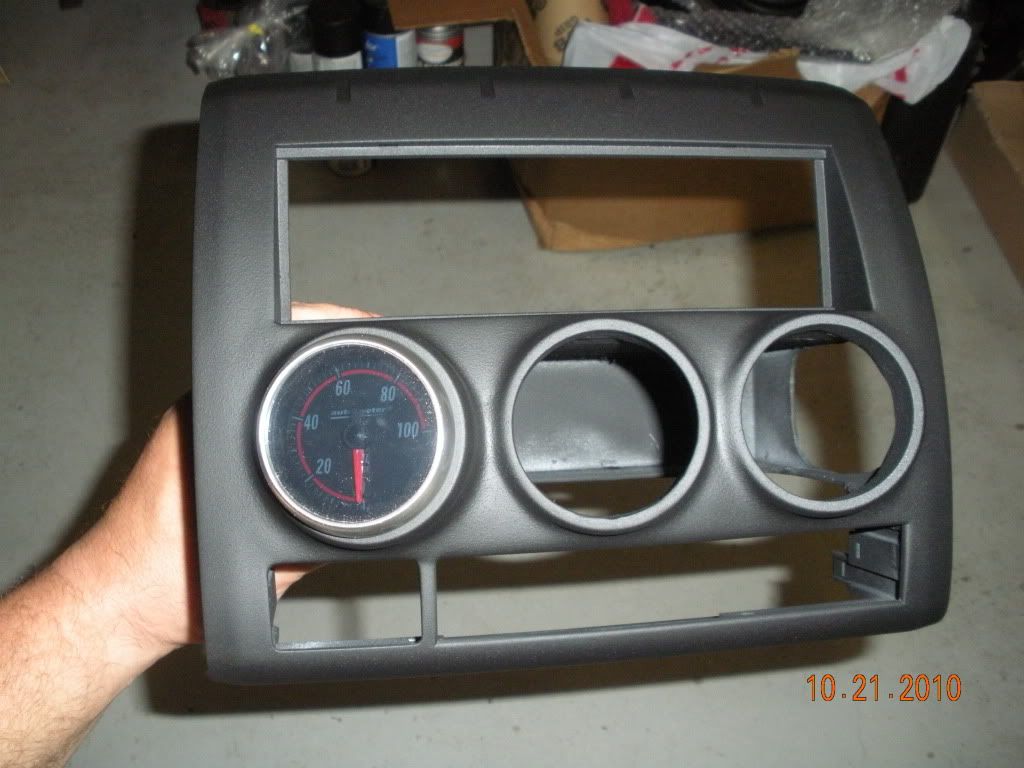
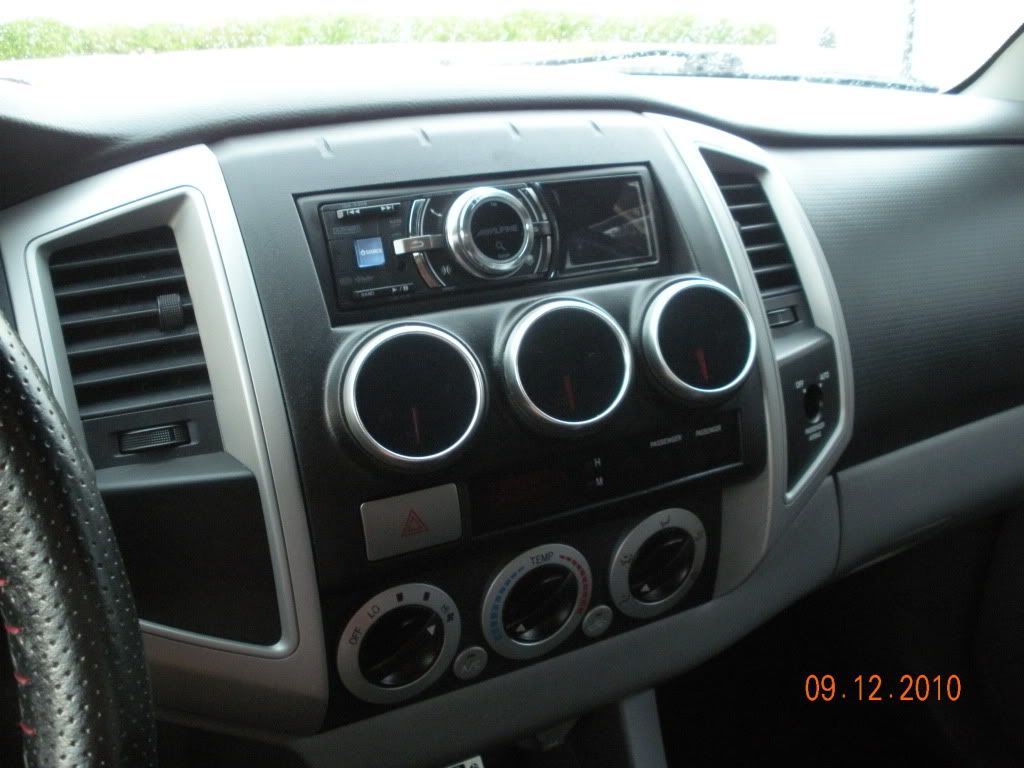
Here are the final results.
(Stolen from DeathShadow)
I bought a Sosche Single Din Radio Mount. I look for ones on eBay.
I cut a piece of ¼” Plexiglas and used epoxy to fill the map slot.
When you glue in the plexiglas, make the plexiglas a little below the surface of the bezel.
I roughed up the surface of the Plexiglas.
I purchased some angle gauge rings from Summit. These are Autometer #2234. I have also found these on eBay for about $10.
Position the gage rings in the center of the map pocket area. Do not get too far to the right. The right gauge needs a special cut out. You will see this later. Position them so they look good to you. Don’t get them too close together either.
Use epoxy and glue them to the Plexiglas. Let dry.
Drill some small holes in select spots in the Plexiglas. This will give the bondo a better bite to the Plexiglas.
It looks a little rough about now, that is normal. We are going to use a grinding cone on a dremel to get our rough cut. This goes pretty quickly and the cone shape makes it easy to get between the gauge rings.
Before you start sanding/grinding, get yourself a mask. The Bondo kicks up a lot of dust. Save your lungs for tobacco.
You will probably need to make one more Bondo application to fill in low spots and to smooth over a few craters. By the way, I am not a body man, so you guys that do this for a living can probably do this a lot better than I am doing.
I will do a little more shaping with the cone stone, and then I will move to 220 grit sandpaper. After you wet sand on it for a while, you will probably going to find a few pits. Use a glazing putting to touch these up and you guessed it, more wet sanding.
When you are close to where you think you are done, hit the radio/gauge panel with some primer. This will show off your imperfections. A little glazing putty and more wet sanding. Repeat as necessary.
When I get the corner radius around the gauge rings shaped the way I want them, I start cutting the holes. I first cut the holes in through the gauge rings. You can use a hole saw, I just used the dremel with the same grinding cone. Do not cut the openings, until your happy with the gauge ring transitions. The plexiglas helps hold every thing together and is much stronger before the openings are cut.
Next cut the opening under the gauges. This is where your wires need to feed through. I have a little buzz saw attachment for my dremel that I used to cut this out. Make radii in the corners. Radii in the corners help prevent cracks. The bigger the better. DO NOT CUT OFF THE TABS THAT CLICK INTO THE RADIO.
Shoot another coat of primer. If it looks good, one more round with wet sanding.
Paint is very subjective. Different people want different things. I wanted a gauge pod the blended into the dash. I painted the face lightly with a metallic textured paint from Duplicolor.
Do not worry about getting full coverage, just get enough down to get uniform texture, do not worry if the color is a little blotchy. Let this dry. I finished up with a couple of coats of Krylon Fusion Paint in a FLAT black. I had to order this. It matches the stock dash very well.
Here are the final results.